Pathological waste disposal: practical steps for surgical and specialty clinics
March 23, 2026
Pathological waste disposal is a small portion of your total clinical waste, but it carries elevated compliance and reputational risk. Tissues and organs require different containers, storage temperatures, and tracking than red-bag waste or sharps. If your process is unclear at any handoff, you invite avoidable exposure and audit findings.
This guide outlines how to identify pathological waste, containerize and label it correctly, store it safely, and coordinate pickups that align with surgical schedules. It also explains the documentation you need for audits and how MedSharps maintains chain of custody to reduce handling risk from your procedure room to final treatment.
This guide to pathological waste disposal outlines how to identify pathological waste, containerize and label it correctly, store it safely, and coordinate pickups that align with surgical schedules. It also explains the documentation you need for audits and how MedSharps maintains chain of custody to reduce handling risk from your procedure room to final treatment.
Our goal is to help you streamline the work while protecting staff, patients, and your license.
What qualifies as pathological waste
Pathological waste consists of human anatomical materials removed during procedures, typically tissues, organs, body parts, and products of conception. It can also include pathological specimens preserved for analysis once they are ready for disposal as part of the pathological waste disposal process.
How it differs from other regulated medical waste:
- Sharps waste: needles, scalpels, and other puncture-capable devices belong in certified sharps containers, not in pathological containers.
- Red-bag clinical waste: blood-soaked dressings, tubing, PPE, and suction canisters are infectious but not anatomical. These go into red bags or lined tubs designated for regulated medical waste.
- Trace chemotherapy and hazardous pharmaceuticals: follow your hazardous drug or pharmaceutical program, not pathological waste streams.
Your policy should state that anatomical materials are segregated at the point of generation and never mixed with other streams. This limits cross-contamination, reduces processing costs, and supports clear documentation.
Compliant containment and labeling
Containment must prevent leaks, protect handlers, and withstand transport. We recommend a two-layer approach with rigid outer packaging.
- Primary containment: place tissues and organs in a leakproof, closable primary container or bag. Use sufficient absorbent material to contain fluids.
- Secondary containment: use a rigid, leakproof pathological waste container with a secure lid. Select a size appropriate to your case volume to avoid overfilling.
- Temperature controls: if required by state or local rules, refrigerate or otherwise maintain containers at appropriate temperatures to slow decomposition and control odor until pickup.
Labeling should be legible and durable:
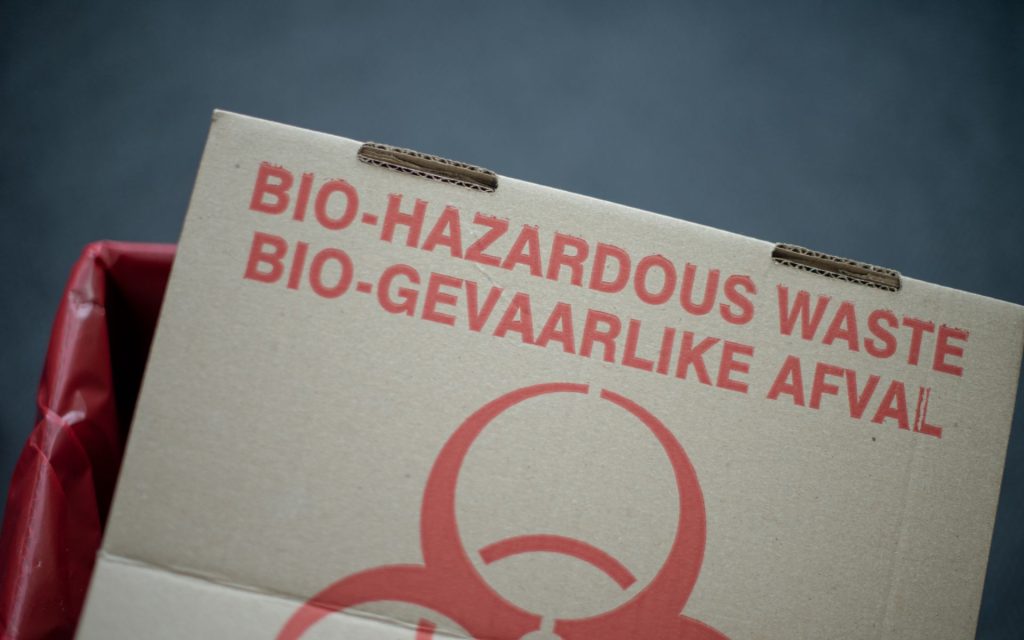
- Apply the biohazard symbol on the outer container and mark as Pathological Waste or Anatomical Waste per your policy.
- Include generator information, date of closure, and storage location. Some jurisdictions require weight or contents description.
- If fixatives such as formalin are present, follow chemical hazard labeling and segregation rules defined by your policy and local regulation.
For container programs and sizing, ensure you are using certified medical waste containers that match your workflow. If you need to review options, see our overview of medical waste containers used in clinical settings.
Storage and scheduling around surgery
Pathological waste should be removed from procedure rooms promptly and transferred along a defined route to a secure, access-controlled storage area. Keep containers closed during movement. Maintain a cleanable, non-porous storage surface and post signage to restrict access.
Storage best practices:
- Keep containers sealed when not in use and do not exceed fill lines.
- Maintain cold storage if required. Monitor temperatures per your policy.
- Separate from red-bag and sharps storage to avoid stream confusion.
- Record container closures and move dates for chain-of-custody clarity.
Pickup timing should integrate with your surgical calendar to limit on-site accumulation:
- Align route pickups with your heaviest case days and add on-demand pickups for surge events or post-holiday backlogs.
- Schedule before long weekends or known high-volume blocks.
- During heat waves, shorten hold times to reduce odor and leakage risk.
If you are reviewing broader program design across regulated streams, our medical waste management services summary can help you evaluate scheduling, containerization, and training considerations.
Pickup, manifests, and audit-ready documentation
Audit readiness depends on accurate, accessible records. At a minimum, keep:
- Signed transport manifests for each pickup, with container counts and weights where applicable.
- Certificates of treatment or destruction, documenting the final processing step.
- Route schedules, storage logs, and incident reports, if any.
- Training records for staff who handle regulated waste.
- Your Exposure Control Plan, segregation policy, and container placement map.
During each pickup, our licensed technicians verify labels and seals, reconcile counts, and sign manifests onsite. Your records are uploaded and available 24/7 through the customer portal. This creates a continuous chain of custody from your procedure room to final treatment and provides clear proof of treatment for regulators and accreditation bodies.
For teams refreshing staff competencies, see our resource on OSHA-focused biohazard training to strengthen handling, labeling, and recordkeeping.
How MedSharps reduces handling risk
We focus on reducing the number of handoffs and the time waste spends onsite:
- Licensed personnel only: our drivers and technicians are trained, certified, and insured. They follow OSHA and applicable state rules for handling anatomical materials.
- Chain-of-custody controls: sealed containers, manifest verification at pickup, and documented transfers at every stage. You have 24/7 access to manifests and certificates in our portal.
- In-house autoclave: local, licensed autoclave treatment reduces third-party handling and transport distances. Faster processing typically lowers exposure risk and liability.
- Surgical schedule integration: we align route timing with your block schedule and add on-demand service for high-volume days, holidays, and surge events. This minimizes storage time and disruptions to your team.
If your program also relies on sharps systems in procedure rooms or pre-op areas, review our guidance on selecting medical waste disposal containers that meet OSHA requirements and reduce overfilling risk.
Step-by-step workflow you can adopt today
- At the point of generation, place tissues and organs in a leakproof primary container with absorbent.
- Transfer to a rigid, leakproof pathological container. Seal and label with the biohazard symbol, generator info, and date.
- Move promptly to your secure, temperature-controlled storage area. Log the transfer.
- Coordinate pickup aligned to your surgical schedule, with surge coverage when case counts rise.
- At handoff, verify seals, reconcile counts, and obtain signed manifests.
- Archive manifests and certificates in your portal and internal compliance repository.
This process protects staff, controls odor and leakage, and creates a clean audit trail.
FAQ: quick answers for clinical teams
- What distinguishes pathological waste from other regulated waste? Pathological waste includes human anatomical materials such as tissues, organs, and body parts. It is kept separate from sharps and red-bag clinical waste and often requires temperature-controlled storage and different containers.
- How should pathological waste be contained, labeled, and stored? Use a leakproof primary container with absorbent inside a rigid, leakproof outer container labeled with the biohazard symbol and generator details. Keep sealed in a secure storage area, often refrigerated as required by local rules.
- What pickup and documentation practices support audit readiness? Schedule pickups around surgical blocks, verify seals and counts at handoff, and retain signed manifests and certificates of treatment. Maintain training records and written procedures. Ensure records are organized and accessible for inspections.
- How does MedSharps reduce handling risk during transport and treatment? We use licensed technicians, maintain strict chain of custody, operate an in-house autoclave to reduce third-party handling, and align pickups to your schedule to limit on-site storage time.
Summary and next step
Pathological waste requires precise segregation, leakproof container systems, clear labels, controlled storage, and documented handoffs. When you integrate pickups with your surgical calendar and maintain complete manifests and certificates, you reduce exposure and strengthen audit readiness. MedSharps provides licensed handling, local autoclave treatment, and portal-based documentation to lower liability and keep your team focused on patient care.
Schedule a site assessment to validate your current workflows and container program. We will map your streams, align pickups to your surgical blocks, and confirm that your documentation supports audits without disruption.